Some times I don’t have enough time to read all of my emails, and you know what I mean. You get busy. But, I am glad that I happened to open one email from Do It And How blog, who wrote about how another blogger made some adorable bunny bowls. Once I saw this post, I had to learn how to make one, and I was glad that I had all the supplies too!
If you head on over to Alice and Lois, you can see their tutorial on how they created a bunny bowl. But I wanted to show you how I made my very own! I was just glad that I read this particular email post today!
I got out all of my supplies after reading their tutorial, and was glad that I had everything that I needed. Sculpey clay was used in creating my Bunny Bowl.
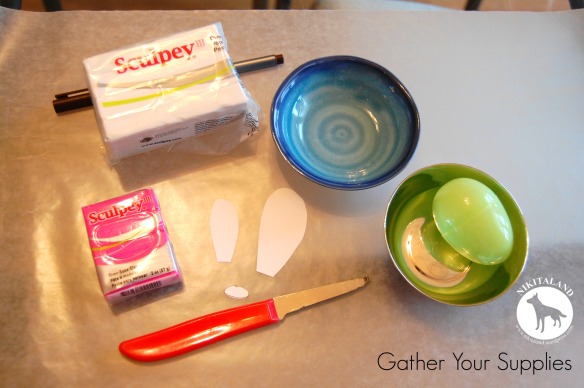
Gather your supplies of Sculpey clay in white and hot pink (for the nose). I also cut out a little template of an ear to trace on the clay for the ears.
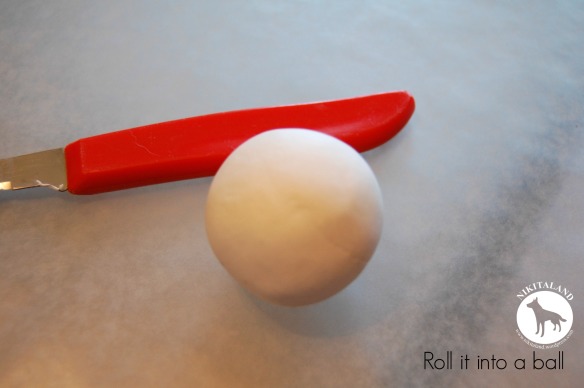
When you work with Sculpey Clay, it is somewhat solid, so you need to work it in your hands to soften it a bit to get it ready.
Once the clay is soft and in a nice ball, it is time to work with it.
Use a rolling pin and roll your clay out nice and flat.
If you have a circle cookie cutter you can use it to cutout your bunny, if not, just use something round like I did, by using this little metal bowl.
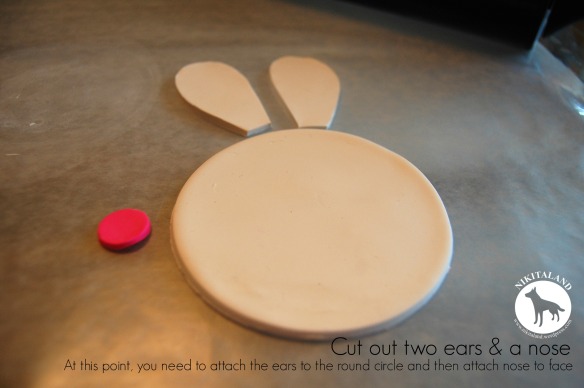
I used my little ear template to cutout two ears from the clay, and then I attached the ears to the bunny by smoothing the clay over the seams, then I added a pink little bunny nose that I cut out of the pink Sculpey Clay.
Now, carefully pick up your bunny and press it into a small oven safe bowl and press it into the bowl. The ears will want to flop over at this point since the clay is soft.
Place in a 275 degree oven for about 15 minutes, but watch it carefully. I placed another pan behind the ears so it held them up a bit while it baked. I thought that the ears would look adorable if I flopped them over a bit too.
If you notice the tip of my bunny ears, you can see that they started to get a little burnt, but I can just lightly sand that off. I took the bunny bowl out of the oven and let it cool completely before I attempted to remove it from the little bowl. Sculpey Clay is not food safe, so please do not place any food on it! But this is how you can make your own bunny bowl to hold perhaps your rings on your dresser! I will be adding a clear coating to the bowl too, so it will protect the clay from getting dirty.
So, what do you think? Do you have any Sculpey Clay to make your own Bunny Bowl? Just think of all the crafts projects you are missing too by not reading your emails! I am sure glad that I read mine today! A great big thanks to Alice and Lois for showing me how to make this awesome Easter craft!


So cute! I’m going to have to make one or two of these soon!
Glad you liked it! I also had a thought to make an “Egg Holder” too! Just pull out of those plastic eggs and mold the clay around the egg and add some feet & ears to it, then bake it!
that is super cute!
Aw, thanks Misaki!
This is soooo cute! I love it! I want to make some!!! 🙂
Working with Sculpey Clay is so easy! If I had an over-abundance of it, I probably could sit here all day and make things! I hope you try making a bunny bowl!
How sweet! Now that you have the process down, you can take this idea and run with it… chicks, dogs, cats… The sky is the limit.
PS – I love the header photo. It reminds me of Mystery Science Theater 3000 with the little silhouettes in the corner and the conversation bubbles above their heads.
I agree Jackie! My mind is already spinning with ideas! I might make some “egg holders” for our Easter eggs now! I do love my new header and I change the bubble sayings a lot!
So cute!
Thanks Alys!
I love this so much, you did a great job! I keep meaning to have a go at things with clay, but I have never worked with it before. You made it look really easy!
Hugs, Carrie (Myfie, Ellie and Millie) x
I made some Christmas ornaments around the holidays with this same Sculpey Clay and pressed a stamp into them and they turned out so beautiful! This clay is really easy to work with and the end results are really smooth too!
My gosh. how cute is that? how do you come up with this stuff??
As you can see from the top of this post, I saw it on another bloggers post and thought…..”hey, I can make one of these”, and I did, but I made mine a little different. I really love love love how it turned out and it was easy to do. Sculpey Clay is really super easy to work with.
You made it your own. You’re very creative.
I definitely aim at being on the creative side. Wish you & your kids could visit us on Halloween! Then you would see our creativity in action! LOL
Oooh. Fun! I look forward to the posts!
that’s cute, I hope we will play with “mud” and clay again. It could be a nice bowl for the colored, hard boild chicken eggs on sunday :o)
They would look adorable with an Easter Egg sitting in the little bunny bowl!
I hope they have that clay in our stores, or we will look at amazon :o)
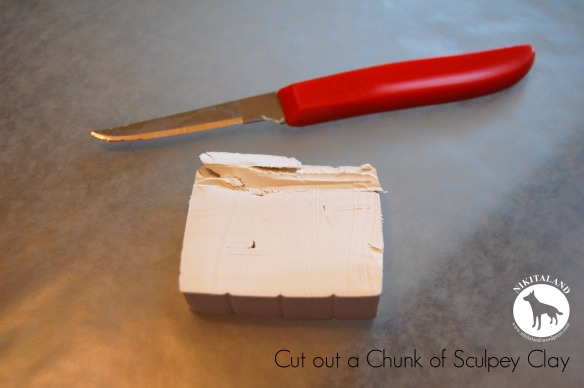
I hope you can find it too, as it is really easy to work with. So much better than salt dough. All you do is cut off a chunk, massage it in your hands to make it pliable, then roll it out.
I hope we can find it. I think I could make egg cups for our easter brunch :o)
Oh yeah, that would be so adorable! I would make some “bunny feet” on the bottom of the egg to hold it up too!
What a cute idea!
Hi Rumpy! So glad you liked my Bunny Bowl! I like it a lot too! Now, I want to make a bigger bowl!
So cute!!!
Thanks! This bowl must be cute, because even my Sweetie loved it when he saw it.
Oh your so mean! Burning bunny ears is not cool Valerie…
It was an accident, I swear! I did not intentionally intend to harm this bunny in the least! LOL
Thats so cool! Especially because its a bunny, and I’m a bunny.
Well Hello There Mr. Bunny! I am so glad that you liked my Bunny Bowl! I will make sure that I put some carrots in it for ya! ❤
What’s up doc? LOL. Well that’s a new one for sure. Aren’t they clever. Good call on the floppy ears. Much better than the link.
I am so glad that you liked my floppy eared bunny bowl! Even my Sweetie loved it!
Hi ya Cupcake & Mommy! I know, aren’t the ear so cute! I was going to leave them up, but I decided to bend them when they were in the oven & had to do it quick before the clay set. Glad I did that! Now, I want to make more of them!
It’s adorable! Your idea for the ears makes it extra cute.